|
|
|
Working withBelow are my image examples using color manipulation. These were extremely fun and very educating. This background was also created using PSP. Combining a lot of the elements taught so far. | |
|
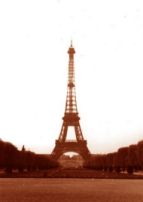
Original Border Image 
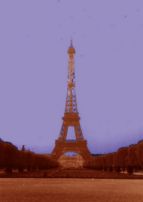
After adjusting Highlight Midtone & Shadow H ~ 70% M ~ 51% S ~ 11% 
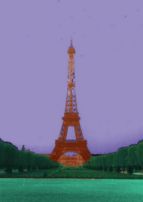
After adjusting Hue. Saturation & Lightness H ~ 58% S ~ 66% L ~ 8% 
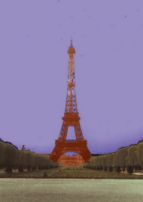
Gamma Adjustment with link locked R ~ .54 G ~ .54 B ~ .54 
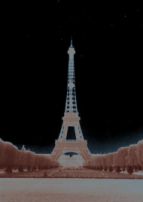
More color adjustment done by using Solarize set to a threshold of 1 Similar to a negative image 
Original Image 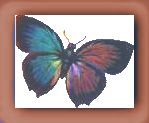
Gamma Adjusted 
highlight/midtone/shadow adjusted 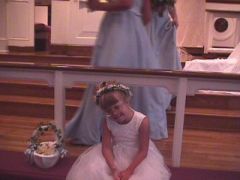
Original Image 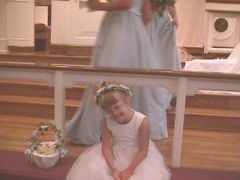
With Gamma correction Used 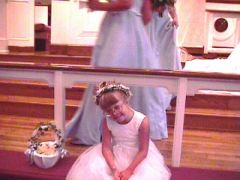
Highlight/Midtone/Shadow adjusted H ~ 62% M ~ 64% S ~ 8 % 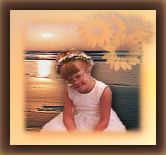
Miss Sara the final image 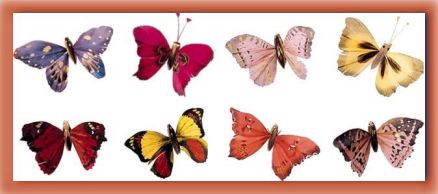
Original Image 
Above image with exclusion blend mode Various compression samples Original image saved at 20% compression ~ 36.9k 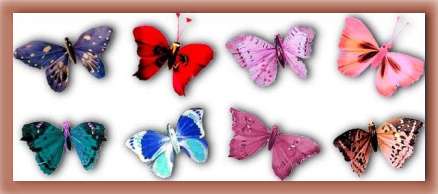
40% Compression ~ 27.1k Loss of quaility little 
60% Compression ~ 20.4k More loss but still not bad 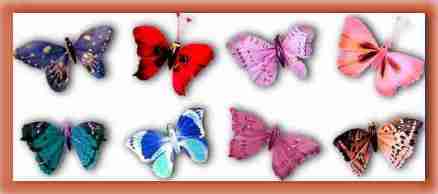
80% Compression ~ 13.3k Noticeable loss 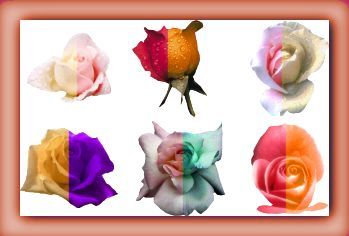
On this image only the right half of each rose was changed usine the Hue Map. Leaving the left side as it originally was. 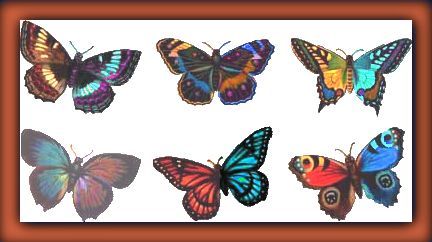
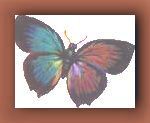
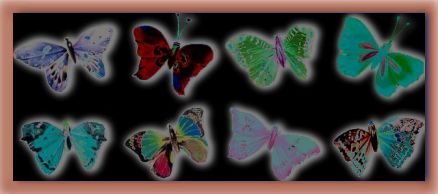
Again chosing only the right sides to alter using different hues for each butterfly. Original left side being unaltered. Black & White Image Altered To view which procedure used put cursor over image 

Transparent Gifs 

After repeatedly trying to eliminate the white edge (using remove white matte 15 times) I decided it was easier to start with the background color I intended to use the image on and then going transparent. Only then did I recieve the desired result. 


Okay so I did a few extras on this exercise. What can I say once I get started I have a hard time stopping. AssignmentsIndex | First Week | Second Week | Third Week | Fourth WeekPage and graphics created on 9/18/99 Copyright ©1999 Kristina M. Berger   
|